

How to secure an adjustable bench to the floor?
Aug 18, 2025
Leave a message
Hey there, fitness enthusiasts! As a supplier of adjustable benches, I've seen firsthand how important it is to have a secure setup for your workouts. A wobbly or unstable bench can not only ruin your exercise experience but also pose a safety risk. So, today I'm gonna share some tips on how to secure an adjustable bench to the floor.
Why Secure Your Adjustable Bench?
First off, let's talk about why it's crucial to secure your bench. When you're doing exercises like bench presses, dumbbell rows, or sit - ups, you're putting a lot of force on the bench. An unsecured bench can slide, tip over, or shift during your workout. This not only disrupts your flow but can also lead to serious injuries. By securing it to the floor, you create a stable base that allows you to focus on your workout without worrying about the bench moving.
Tools and Materials You'll Need
Before we get into the actual process of securing the bench, let's go over the tools and materials you'll need.
- Drill: A good quality drill is essential for making holes in the floor and the bench if necessary. Make sure you have the right drill bits for the type of floor you have. For example, if you have a concrete floor, you'll need masonry drill bits.
- Screws or Bolts: The type of fasteners you use depends on your floor material. For wooden floors, wood screws are a good option. For concrete or tile floors, you'll need concrete anchors and bolts.
- Measuring Tape: To ensure that you're placing the bench in the right position and that the holes are drilled in the correct spots.
- Level: A level will help you make sure the bench is perfectly horizontal, which is important for a stable and safe workout.
Step - by - Step Guide to Securing Your Adjustable Bench
Step 1: Choose the Right Location
The first step is to find the right spot for your bench. Make sure the area is flat, clean, and free of any obstacles. You also want to have enough space around the bench to move freely during your workouts. Once you've found the perfect spot, use your measuring tape to mark the position of the bench on the floor.
Step 2: Prepare the Bench
If your bench has pre - drilled holes for floor mounting, great! If not, you may need to drill holes in the base of the bench. Make sure the holes are the right size for the screws or bolts you'll be using. You can refer to the bench's manual for guidance on where to drill the holes.
Step 3: Drill Holes in the Floor
Now it's time to drill holes in the floor. Line up the bench with the marks you made earlier and use it as a template to mark the hole locations on the floor. Then, using your drill and the appropriate drill bits, carefully drill holes in the floor. If you're working on a concrete floor, be extra careful as it can be tough to drill through.
Step 4: Insert Anchors (if needed)
If you're using concrete or tile floors, you'll need to insert concrete anchors into the holes you just drilled. These anchors will provide a secure base for the bolts. Follow the manufacturer's instructions for inserting the anchors properly.
Step 5: Attach the Bench to the Floor
Once the holes are drilled and the anchors are in place (if applicable), it's time to attach the bench to the floor. Place the bench over the holes in the floor and insert the screws or bolts through the holes in the bench and into the floor. Use a wrench or screwdriver to tighten the fasteners securely. Make sure not to overtighten, as this could damage the bench or the floor.

Step 6: Check for Stability
After attaching the bench to the floor, use your level to check if it's perfectly horizontal. If it's not, adjust the position of the bench slightly and re - tighten the fasteners. Give the bench a good shake to make sure it's stable. If it still wobbles, double - check the tightness of the fasteners and make any necessary adjustments.
Additional Tips for a Secure Setup
- Use Rubber Pads: Placing rubber pads under the bench legs can help reduce noise and prevent scratches on the floor. It can also add an extra layer of stability.
- Consider the Floor Type: Different floor types require different methods of securing the bench. For example, if you have a carpeted floor, you may need to use heavy - duty adhesive or special carpet fasteners.
- Regular Maintenance: Periodically check the tightness of the screws or bolts to ensure that the bench remains secure over time.
Complementary Fitness Accessories
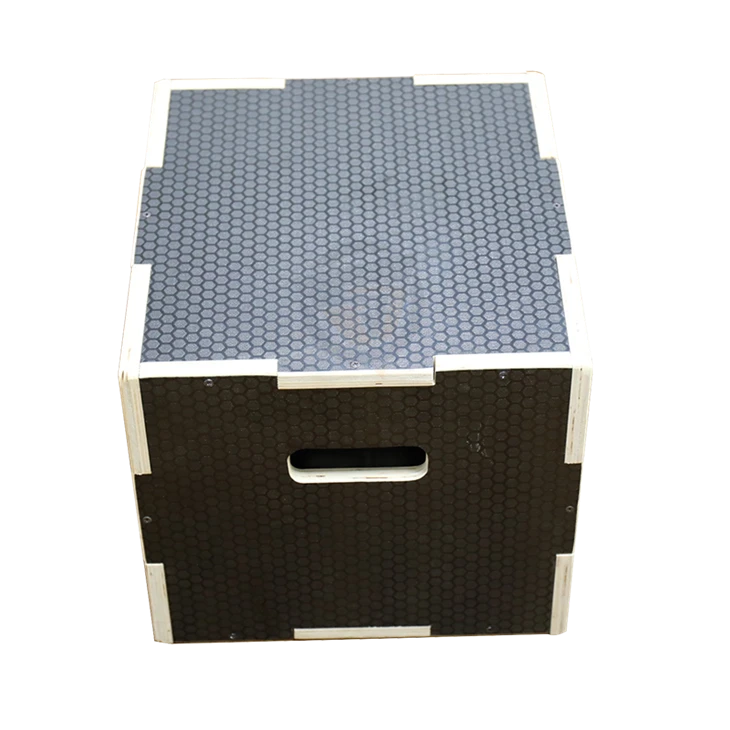
While you're setting up your adjustable bench, you might also want to consider adding some complementary fitness accessories to enhance your workout. Check out our Wooden Exercise Box for plyometric training. It's a great addition for improving your strength and power.
Another awesome accessory is the Mini Loop Resistance Bands. These bands can be used for a variety of exercises, from leg workouts to upper body strengthening.
And if you're looking to add some variety to your bench workouts, the Viking Press Attachment is a must - have. It allows you to perform unique pressing exercises that target different muscle groups.
Contact Us for Your Adjustable Bench Needs
If you're in the market for a high - quality adjustable bench or have any questions about securing it to the floor, don't hesitate to reach out. We're here to help you create the perfect home gym setup. Whether you're a beginner or a seasoned fitness pro, our adjustable benches are designed to meet your needs. Contact us today to discuss your requirements and start your journey to a safer and more effective workout.
References
- "Fitness Equipment Installation Guide" - General fitness industry resource
- Manufacturer's manuals for adjustable benches and related accessories